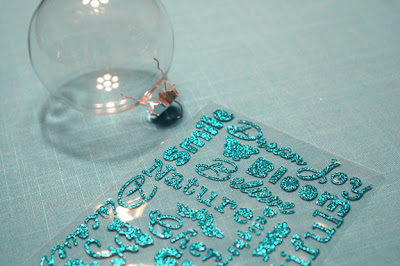
 What You'll Need
4" glass ball ornaments, available at craft stores
Etching cream
Old paintbrush
Disposable or protective gloves
Puffy stickers or regular stickers with some heft to them

See these stickers? It doesn't matter that they're glittery. It matters that they are about 1/8" thick, so that I can pull them off when I'm done etching.
Disclaimer: Etching cream is not good for skin (or eyes, or digestion, etc.) so wear proper protection. Due to these constraints, your child can help you by putting the stickers on the ball. They should not help with the etching cream process.
 Instructions:


 Instructions:
1. Set your glass ball on a cup so that you can easily apply the stickers onto it.

2. Arrange your stickers decoratively onto the ball. Wherever you put your stickers is where clear glass will show through.

3. Now I wish I could have shown me applying the etching cream to this ball, but I was elbow deep in gloves and had no photographer. Here's the scoop: Take an old small paintbrush and glob etching cream onto the ball.
Glob it, I tell ya. Glob it.
Let it hang for about 10 minutes. Etching is a bit of trial and error, so don't despair. The first one I did wasn't etched enough, so I increased the time to 10 minutes the next time I did it.
4. Rinse off the etching cream with water. The stickers will rinse off, too. Gentle, now. See how beautiful it is?
The lesson will appear in tomorrow's post after Version Two is explained.


