
 I'd like to take this moment to tell the entire bloggy world that I am not an energetic mother. My friend Beth can raise four children more effortlessly than me and I've come to terms with that. And... more surprisingly... she is still very much my friend even though I covet said energy. (Hi, Beth!)
That being said, I'm going to s-t-r-e-t-c-h out this Skydeck adventure we had for all its worth. Not only will we be writing our adventures in a scrapbook. We will also be making bracelet charms out of shrink art. Klutz makes an amazing Shrink Art Jewelry book. I'm all for saving some dough, but in my crafty opinion, you should totally spring for this set.
(And yes, I realize this post is a bit on the girly side. However... boys would totally enjoy shrink art, too... just without the jewelry part.)
 Here's why:
It comes with LOTS of instructions, picture, graphics, templates, beads, hooks and inspiration.
And... AND... it has a charm bracelet as well as a ring sizer.
SCORE!

For those uninitiated in the art of shrink paper, here's how it works:
1. Draw on shrink paper with permanent marker or colored pencil and cut out your image.
2. Put it in the oven for a few minutes.
(Check directions for oven temperature.) The art will shrink in the oven, thicken and turn into a hard plastic substance. It's amazing.
Back to my regularly scheduled programming:
I found the Skydeck logo on their website and printed it out to the size I wanted it. I had to keep in mind that it was going to shrink to about one third or one quarter of its original size.

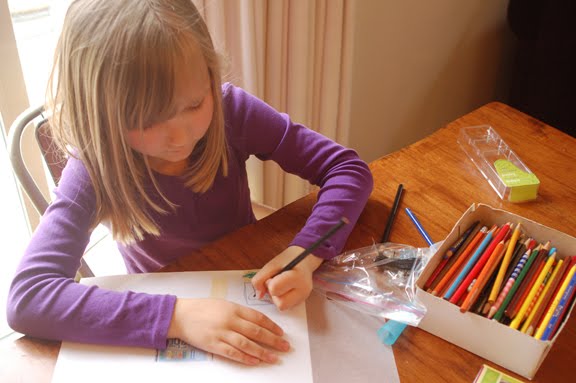
Here is Morgan happily coloring away:
Here is the resulting charm. By the end of the summer, she should have a wrist full of memories.

Hooray for summer fun!

